3D modeling software "Metasequoia" official web site
3D modeling software "Metasequoia" official web site
We continue to develop Metasequoia 4 to make it easier for more users.
However, new users or users who have used the software after a long time may miss Metasequoia's features.
In this article, we will introduce some of the features we haven't introduced in detail in the past.
Metasequoia 4 provides some methods to create faces. In this article, we will introduce functions to edit a rough mesh rather than smooth primitive shapes or armatures.
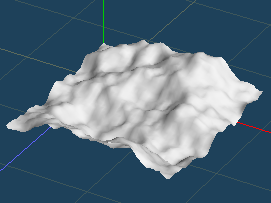
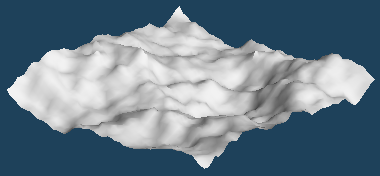
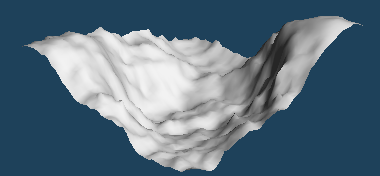
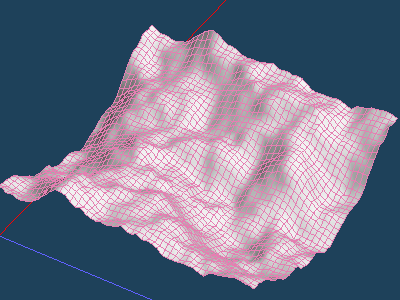
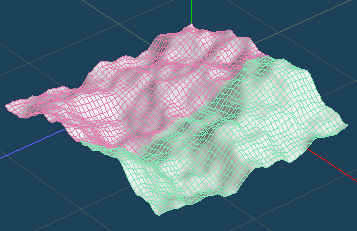
By [Create > Landscape] in [Object] menu, you can create a rough mesh from fractal noise image.
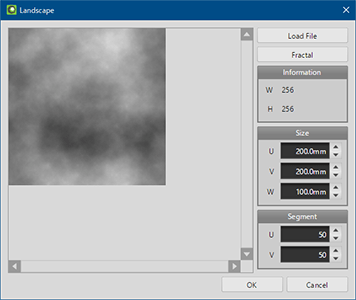
*You can import the actual topographic map image file from [Load File]. It is necessary to represent differences in elevation by grayscale.
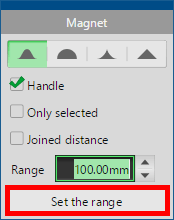
Use [Magnet] command if you want to edit randomly created faces. It can be deformed while holding the unevenness to some extent.
 |
 |
 |
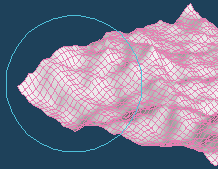
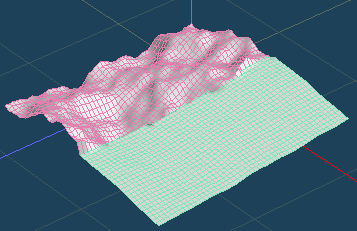
First, click [Set the range] to switch to range setting mode. Drag on the object to adjust the range of influence of [Magnet].
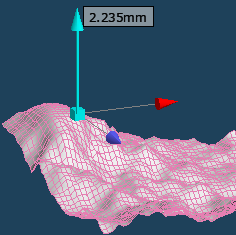
Click on a vertex and move it up and down with the handle. You can transform it into mountains and valleys while keeping to a certain extent the irregularities.
Please do not move it at once. It will be easier to leave unevenness if you lift it in small increments.
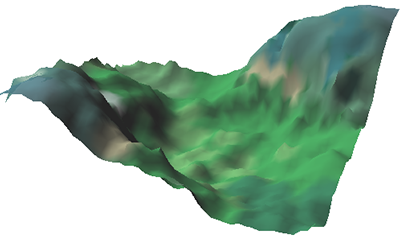
Color it by [Paint] or [Vertex color] command. The simple terrain object has been completed.
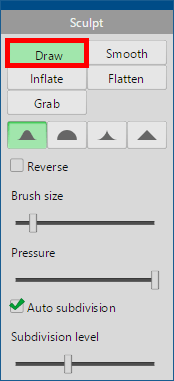
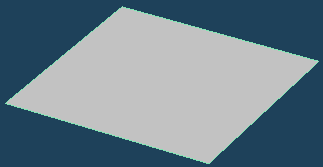
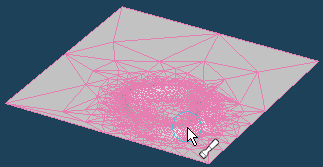
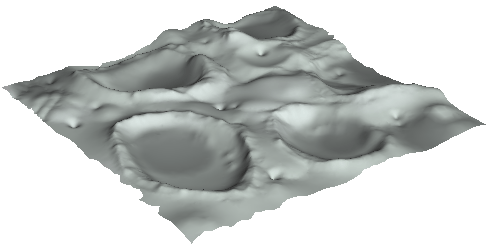
If you want to create a topographic map from one plane, it is recommended to use [Sculpt] command. By [Sculpt], you can create objects like creating clay work.
 |
 |
|
 |
This method is more time consuming than using [Landscape]. However, you can create shapes as you like, rather than random generation.
Next is the opposite topic. Flatten a rough surface.
In [Selected] menu, [Flatten] is a function to make the surface smooth.
It differs from the apparent "smoothing" in [Object Property]. This function moves the vertices actually to smooth the surface.
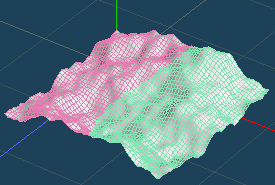
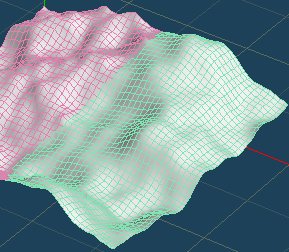
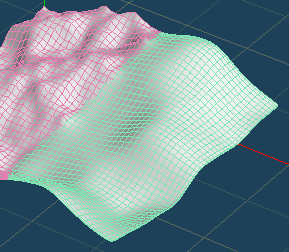
Let's execute [Selected > Flatten] with selecting some range on the uneven surface.
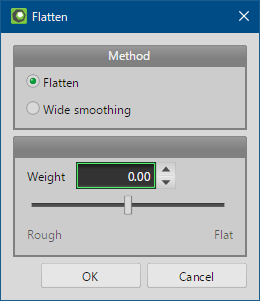
There are two methods for [Flatten]. Both can adjust the amount of effect while checking the result of smoothing.
 |
 |
| Flatten | Wide smoothing |
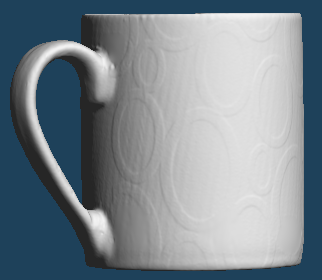
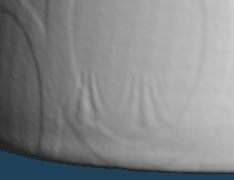
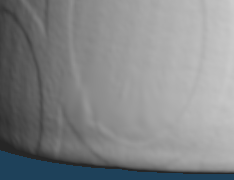
Let's use this function to remove scratches on objects captured with a 3D scanner.
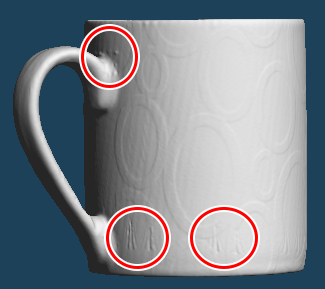

Small scratches quickly disappeared with [Wide Smoothing], but it may seem too smooth and unnatural. Or, the design of the details may disappear.
 |
|
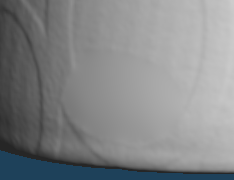 |
If you want to fix more details, use [Sculpt] command to make corrections manually.
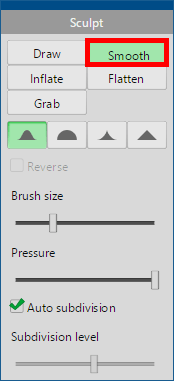
Select a [Smooth] brush and drag the unevenness on the object with the mouse to correct them smoothly.
Fix the unevenness to be less noticeable while adjusting the brush size on sub panel.
|
|
 |
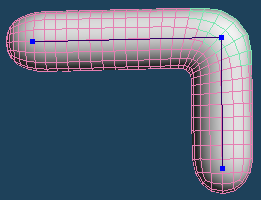
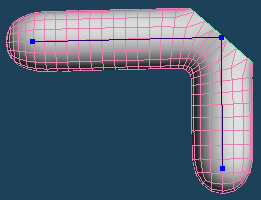
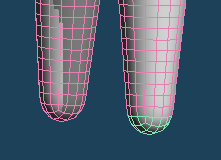
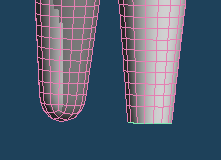
Finally, I will introduce [Selected > Planation].
The two functions mentioned earlier smooth the surface while retaining the original shape.
On the other hand, [Planation] aligns all the vertices in the selection and makes them completely flat.
 |
|
 |
With this function, you can bevel a curved object such as a sphere or an armature.
 |
|
 |
 |
|
 |
 |
|
 |
|
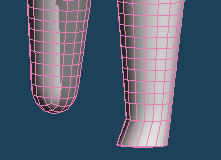 |
| Select the tip of the foot | Planation | Extrude and shaping |